Sparking Zero Neo Mercenary Tao — Assassin of the Red Ribbon
Classic Dragon Ball killer with B-tier Journey value — lethal strike priority, rushdown confirms, and surprising meta depth.
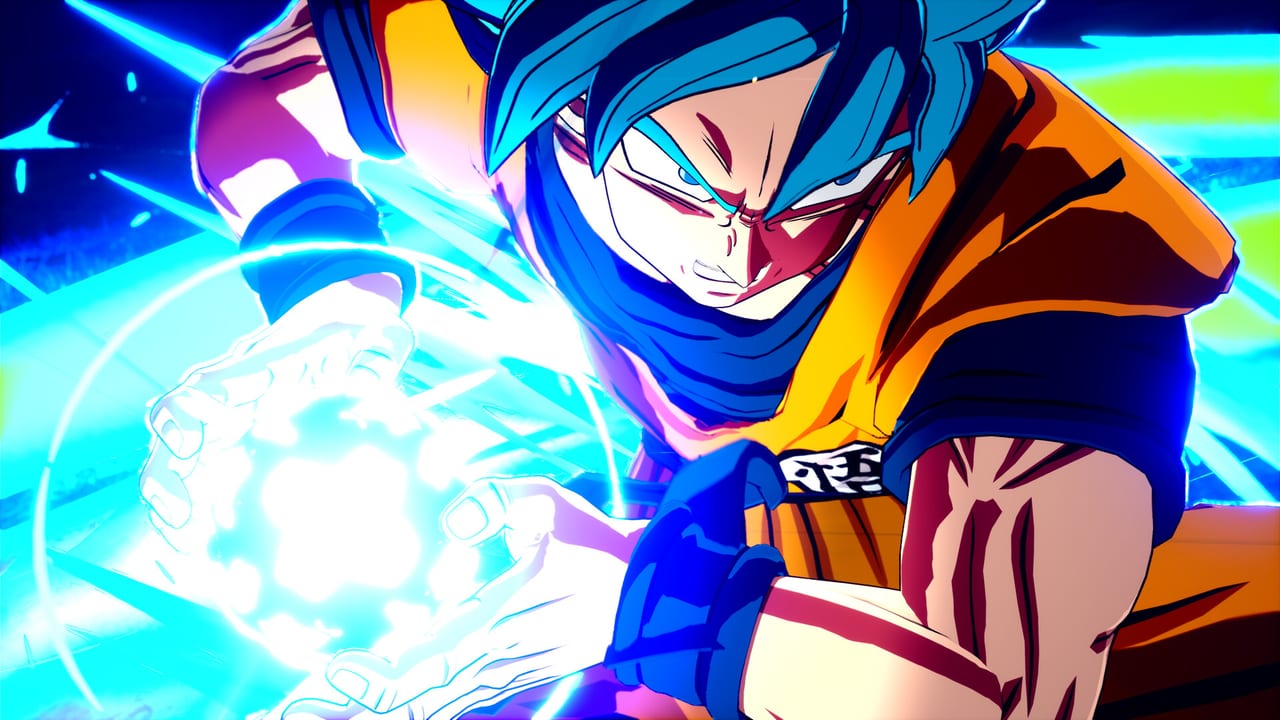
Mercenary Tao is the Red Ribbon Army assassin from original Dragon Ball, playable for the first time in Dragon Ball: Sparking! ZERO through the Super Limit-Breaking NEO DLC on July 30, 2026 for PlayStation 5, Xbox Series X|S, and Steam. Community testing places him as a B-tier surprise on the NEO roster tier list — not a ranked staple like Super 17 or Bardock (Super Saiyan), but a legitimate assassin rushdown with strike priority that catches opponents who underestimate classic-era kits.
This guide covers Tao’s neutral tools, Sparking Mode routes, synergy with the free Sparking! Boost and marketing Chain Blast (official patch name Linked Blast) update, recommended Battle Arts, and separate notes for Limit Breaker Journey versus online ranked. Return to the Characters hub for the full NEO roster index.
Character overview
Mercenary Tao plays as a lethal rushdown assassin. His frame is compact, his movement is deliberate, and his damage spikes when you land the right strike at the right moment — mirroring his manga reputation as a killer who ends fights quickly rather than grinding neutral. Voice lines against Demon King Piccolo and tournament-era fighters add Red Ribbon arc flavor in Episode Battles on new NEO stages.
Most players expect classic Dragon Ball cast members to land in D-tier or F-tier for ranked efficiency. Tao breaks that assumption in Journey and local brackets because his strike priority and rush confirms punish sloppy defense. Ranked climb is harder — S-tier and A-tier NEO picks outscale him on damage — but skilled Tao mains report consistent wins against C-tier and D-tier opponents who never lab the matchup.
Core tools and neutral game
Strike priority and assassin confirms
Tao’s identity is lethal priority on key normals. His heavy strike strings win trades against characters who autopilot light confirms, and his rush follow-ups carry opponents toward wall splats on compact arenas. Do not treat him as a zoning character — Tao loses extended neutral against Demon King Piccolo space control and against ki spammers who refuse to approach.
Lab one mid-range confirm that works on both large and small stages. The July 29 free update adjusted projectile nullification globally; Tao benefits when opponents blast from predictable distances because his rush closes the gap faster than most F-tier classic picks.
Rushdown strings and wall carry
Once Tao enters melee range, his rush strings chain into wall splats that set up Ultimate Blast finishers or reserve Linked Blast tags if you run a two-fighter team. His assassin fantasy is real: rounds end quickly when confirms land. Whiffed heavies punish hard — Tao’s recovery frames are not forgiving — so condition with lights and ki blasts before committing to kill routes.
Ki management and blast types
Tao’s ki curve favors burst windows over sustained zoning. Rush-type blasts complement his melee identity; use them to force approaches rather than chip from fullscreen. Against Champa or Pikkon, Tao must respect reach and armor — do not trade heavies blindly against A-tier bruisers.
Sparking Mode, Boost, and Linked Blast
Tao’s Sparking chains emphasize wall carry into Ultimate finishers. Enter Sparking after a confirmed wall-splat or guard break when Skill Stock is healthy. Sparking! Boost closes rounds on B-tier damage math when opponent health sits below forty percent — Boost kill confirms are a major reason Tao overperforms in Journey gauntlets.
Avoid Boost during neutral resets. The post-boost stat penalty hurts Tao’s already-punishable recovery on whiffed rush strings. Skilled players Boost only on kill confirm routes or guaranteed wall loops.
Chain Blast teams can slot Tao as a finisher after an ally launches — Pikkon wall carry into Tao reserve swap is a common local setup. Read swap timing in the Sparking Boost and Chain Blast guide before building a dedicated tag squad. The official Linked Blast input matches marketing Chain Blast documentation; both terms appear in patch notes and UI depending on region.
Recommended Battle Arts and builds
Slot arts from builds that complement assassin pacing:
| Goal | Art direction |
|---|---|
| Journey burst | Attack, Sparking damage, Ultimate Blast boost |
| Ranked consistency | Counter damage, guard break assist |
| Sustain gauntlets | Health, ki regen, cooldown reduction |
Avoid defensive arts that assume you absorb or zone — Tao wins by landing one clean rush sequence, not outlasting S-tier sustain kits like Super 17.
Matchup notes
Strong against: passive zoners who panic when rushdown approaches, Journey CPU with predictable blast patterns, D-tier and F-tier classic cast members who lack armor.
Weak against: Super 17 absorption and counters, Demon King Piccolo zoning range, A-tier bruisers like Champa and King Vegeta who win neutral trades on damage.
In team formats, pair with A-tier Linked Blast partners from online meta recommendations. Ally launches; Tao finishes before recovery.
Limit Breaker Journey
Tao is the B-tier Journey surprise on Journey picks because CPU opponents approach more predictably than humans and his burst damage clears SP-scaled fights without S-tier execution requirements. Invest attack and health early; add ki once confirm routes stabilize. Journey gauntlets stretch ten or more fights — Tao’s kill potential prevents long stalemates better than F-tier novelty picks.
Do not copy Super 17 Journey builds onto Tao — sustain stat curves waste his assassin identity. Prioritize damage and one-shot confirm routes instead.
Comparison to other classic and B-tier NEO fighters
| Fighter | Strength vs Tao | Tao advantage |
|---|---|---|
| General Blue | Hypnosis-flavored setups | Raw rush damage, strike priority |
| Nam | Minimalist rush tools | Lethal confirms, Journey value |
| Hell Fighter 17 | GT rush with different kit | Classic-era strike priority |
| Tien (World Tournament) | Tri-Beam zoning | Faster kill confirms |
Pick Tao when you want classic Dragon Ball assassin flair with legitimate Journey tools. Pick S-tier or A-tier NEO picks when ranked climb is the only metric.
Episode Battles and extras
Tao appears in Red Ribbon and 23rd World Tournament Episode Battles bundled with NEO. Use those missions to learn strike timing without rank pressure, then transition to versus with the same builds loadout.
Track balance changes on Updates — classic rushdown characters occasionally receive subtle strike-priority tuning when Journey win rates spike.
Where to go next with Tao
If Tao’s assassin rush clicks, cross-check his B-tier band on the NEO roster tier list, then skim other classic slots on NEO Full Roster. Lab Boost kill windows with the Sparking Boost and Chain Blast guide before exporting a Journey build from Limit Breaker Journey. Slot damage-leaning arts from Battle Arts rather than sustain kits meant for Super 17.
Frequently Asked Questions
Quick answers to the most common questions.
What tier is Mercenary Tao in Sparking Zero NEO?
Community early meta places Mercenary Tao in B-tier on the NEO roster tier list. He is a Journey surprise with strong strike priority but lacks S-tier or A-tier ranked consistency.
Is Mercenary Tao good for Limit Breaker Journey?
Yes. B-tier Journey placement reflects burst damage and CPU-friendly confirms without extreme execution. Invest attack and health early, then ki for Sparking routes.
How does Tao compare to other classic Dragon Ball fighters?
Most classic NEO picks sit in D-tier or F-tier for ranked. Tao's assassin rushdown and strike priority place him higher — especially in Journey where burst kills matter.
Does Tao work with Chain Blast teams?
Yes as a finisher slot. Allies like Pikkon launch; Tao reserve-swaps into Linked Blast finishers. Read tag timing in the Sparking Boost guide before building the squad.
Should I Boost on every Sparking activation as Tao?
No. Use Sparking Boost on kill confirms or guaranteed wall loops. Boosting at neutral leaves Tao vulnerable during the post-boost stat penalty.