Sparking Zero Neo Sparking! Boost & Chain Blast — Neo Free Update
Master the July 2026 free mechanics: burst damage, recovery windows, and tag Blast chains in every mode.
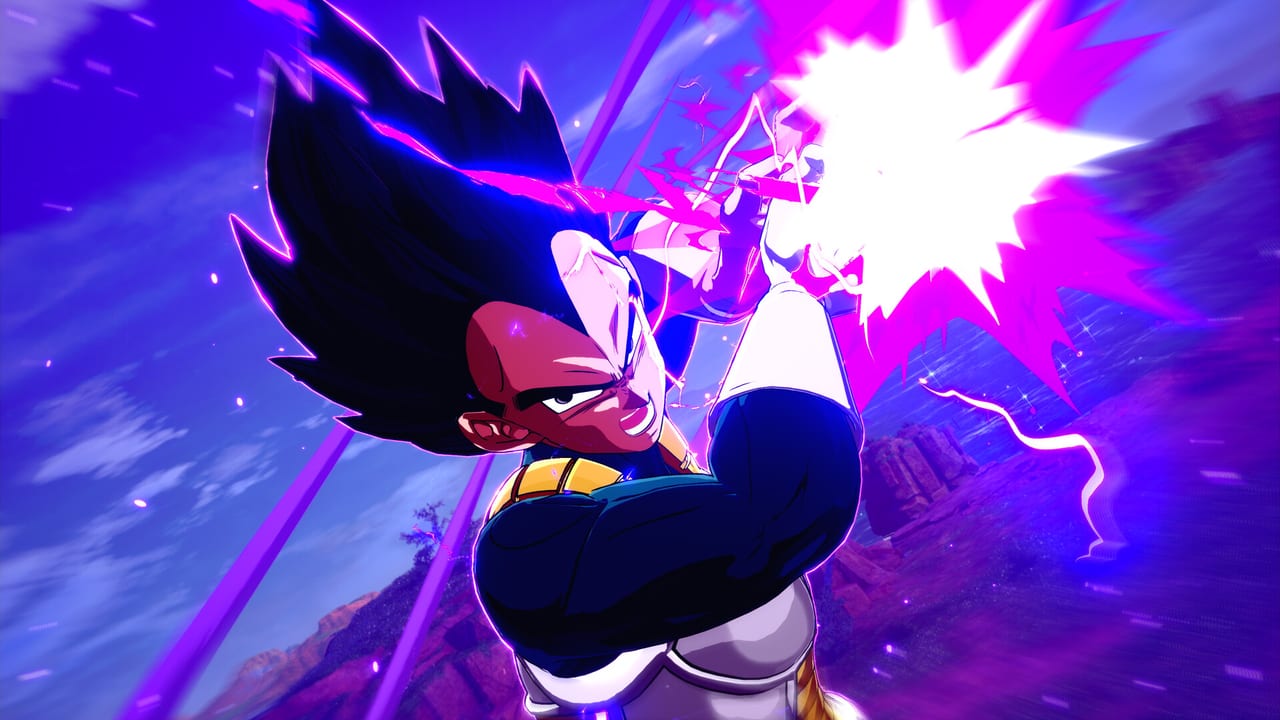
Alongside Super Limit-Breaking NEO on July 30, 2026, Bandai Namco shipped a free update for all Dragon Ball: Sparking! ZERO owners introducing Sparking! Boost and Linked Blast — the official in-game and patch-note name for the tag follow-up Bandai’s marketing calls Chain Blast. Both labels describe the same mechanic; this guide uses Chain Blast in headings for search visibility and Linked Blast when citing official July 29 notices. These systems change burst damage pacing and team-style offense without requiring DLC purchase. This guide explains how both mechanics work, when to use them, and how they interact with Limit Breaker Journey, Episode Battles, and versus play.
Patch notes and balance tweaks live on Free Update Notes and New Opening & ZERO Theme when presentation changes ship in the same patch. NEO-specific context appears on NEO Launch Update. New players should read Getting Started with NEO first if you are learning menus alongside these tools.
Sparking! Boost overview
Sparking! Boost lets you spend Skill Stock (the resource tied to your character’s skill meter) to enter a temporary high-output state with significantly boosted attack power. The trade-off is a post-boost stat drop — your fighter becomes vulnerable for a window after the boost ends.
Think of Boost as a deliberate all-in button:
- Input — activate when you have Skill Stock available and a confirmed opening (downed opponent, wall splat, or post-guard-break).
- Payoff — supers, strike strings, and some special moves deal much higher damage during the boost.
- Cost — after expiration, lowered stats (attack, defense, or both depending on patch tuning) until the penalty clears.
Boost is not a panic button at neutral. Burning it while whiffing leaves you weaker during the opponent’s punish phase.
Skill Stock fundamentals
Skill Stock builds through combat actions defined in Controls & Fundamentals:
- Successful strike confirms and Ki blast pressure.
- Guard break or stagger opportunities.
- Some characters gain Stock faster via specific strings — check Players Hub for meter quirks on NEO roster additions.
Monitor your Stock bar before committing to Boost. In Limit Breaker Journey, wasted Boost windows can turn a winnable SP fight into a loss because travel stamina already lowered your starting HP (Limit Breaker Journey Guide).
Safe Boost timing patterns
Use these patterns before experimenting in ranked play:
- Kill confirm — opponent at low HP after a grounded combo; Boost ensures the super finishes before recovery.
- Post-super armor break — you broke a boss’s armor in Journey; Boost converts the opening into phase skip damage.
- Corner trap — ring-out or wall scenarios on NEO stages like Kami’s Palace (Stages Hub) where short burst windows matter.
- Never at neutral — whiffed Boost activations into a penalty phase lose trades against SP-scaled Journey elites.
After Boost ends, back off. Block, create space, or call a support action if your mode allows. Fighting during the penalty phase throws away the advantage you bought.
Stat drop recovery
The post-boost penalty duration and severity are subject to balance patches — always skim Free Update Notes after maintenance.
General recovery tips:
- Do not stack risky options — avoid second Boost until penalties clear unless a patch allows chained activation.
- Defensive Battle Arts from Journey (Battle Arts Builds) can soften penalty phases if you exported a character.
- Ki blasts at range maintain pressure without committing to strike trades while weakened.
Episode Battle scenarios with time limits reward Boost for boss DPS checks — see Episode Battles Neo for mission-specific advice.
Chain Blast overview (Linked Blast in patch notes)
Linked Blast is the official July 29 patch name; Chain Blast is the marketing name. They refer to one tag follow-up:
- Trigger — launch an opponent with a qualifying attack.
- Swap — switch to an ally during the launch window.
- Continue — the incoming character connects a Blast to extend the combo.
Chain Blast does not replace full tag-team fighters from other franchises — it is a situational extension tool for burst damage and style points. It shipped free for everyone, so expect opponents online to use it once the meta settles on Tier List Hub.
Chain Blast execution steps
Practice in Custom Battle before Journey or Episode commitments:
- Select a team-compatible setup if your mode allows ally definitions; some scenarios use fixed partners.
- Land a reliable launcher — not every move qualifies. Lab your character’s list in Controls guide.
- Immediately input swap during the launch animation — late swaps drop the chain.
- Blast as the ally — timing varies by distance; stage width on Stratosphere affects travel time (Stages Hub).
Failure states include swapping too late, choosing a launch with insufficient float time, or Blasting while the opponent air-recovers.
Combining Boost and Chain Blast
Advanced sequences link both systems:
- Launch → swap → Blast → swap back → Boost super for finishing damage.
- Penalty management matters double here — if Boost penalty hits while you are still in swap animation, you may eat a full punish.
These sequences shine in Episode Battles Neo multi-phase fights and Custom Battle showmatches. In Journey, simpler Boost kill confirms usually outperform flashy chains because SP enemies punish execution errors harshly (Complete Journey Runs).
Mode-by-mode recommendations
| Mode | Sparking! Boost | Chain Blast |
|---|---|---|
| Limit Breaker Journey | Boss burn phases; SP spike fights | Optional style; prioritize consistency |
| Episode Battles Neo | Time-limit boss DPS | Branch missions with ally presence |
| Custom Battle / local versus | Lab kill confirms | Practice swap timing |
| Online ranked | Meta-dependent; watch penalty punishes | Mix-up after launch knowledge |
| Survival Mode | Sustain fights; avoid penalty overlap | Situational juggle extensions |
Character and build considerations
Not every fighter benefits equally:
- High Strike / Super damage characters maximize Boost value — consult NEO Roster Tier List for burst rankings.
- Launch-heavy kits enable Chain Blast more often; grapplers with limited float may skip it.
- Stat Allocation in Journey (Stat Allocation guide) should complement Boost — Ki investment pays off when supers finish during boosted windows.
Use SP Planner Tool before Journey boss attempts to confirm you deal enough boosted damage to skip a phase.
Training regimen
- Week one — drill Boost activation and penalty backoff in Custom Battle.
- Week two — add Chain Blast on one reliable launcher per main character.
- Week three — integrate into Journey elites without losing stamina to rematches (Journey guide).
- Ongoing — re-read Free Update Notes after patches.
Common mistakes
- Boosting at neutral and eating full combos during penalty.
- Ignoring Skill Stock economy — empty bar when boss opens = wasted DPS window.
- Chain Blasting without measuring stage boundaries — ring-outs break practice flow on Kame House.
- Assuming Boost fixes bad matchups — Review Hub and tier lists still matter.
Sparking! Boost and Chain Blast reward discipline: spend Stock deliberately, respect penalty windows, and treat Chain Blast as a labbed extension rather than a random button press. Pair this guide with Guides Hub for mode-specific walkthroughs.
Frequently Asked Questions
Quick answers to the most common questions.
Do Sparking Boost and Chain Blast require the NEO DLC?
No. Both mechanics were added in the free update that launched alongside Super Limit-Breaking NEO on July 30, 2026. All base-game owners receive them.
What does Sparking Boost cost to activate?
Sparking! Boost spends Skill Stock. After the boost ends, your character suffers a temporary stat reduction until the penalty phase clears.
How do I perform Chain Blast?
Launch an opponent, swap to an ally during the launch window, then connect a Blast with the incoming character to continue the combo.
Should I use Boost in Limit Breaker Journey?
Yes, primarily on boss or high-SP fights where a boosted super ends the phase. Avoid using Boost at neutral when travel stamina already lowered your HP.
Why do patch notes say Linked Blast instead of Chain Blast?
Linked Blast is the official in-game and July 29 patch notice name. Chain Blast is Bandai's marketing and producer-video label. Both refer to the same launch-and-swap Blast follow-up.
Where are balance changes to these mechanics posted?
Check the Free Update notes page after each patch. Stat penalty duration and damage multipliers may change based on PvP feedback.