Sparking Zero Neo NEO Episode Battle Difficulty — Why It Feels Unfair
Sparking-Mode spike loops, counter-vanish timing, per-route breakdowns, and rank triage for the four NEO what-if routes.
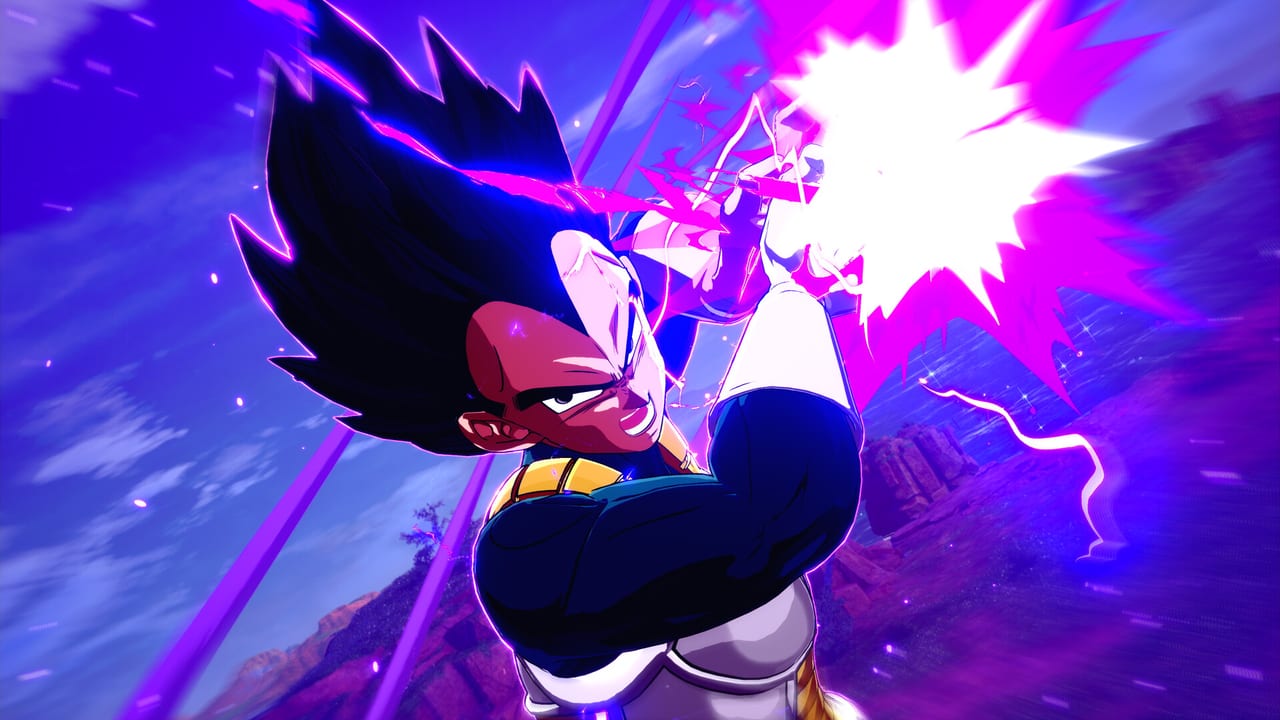
Super Limit-Breaking NEO launched July 30, 2026 on PS5, Xbox Series X|S, and Steam with four character Episode Battles that community feedback consistently describes as unfairly scaled — even veterans who cleared Limit Breaker Journey on high-SP nodes report walls on routes that feel past the highest offline difficulty. This guide explains why NEO Episode Battles punish you, documents proven community tactics (Sparking-Mode spike loops, counter-vanish timing), breaks down each route’s specific cruelty, and tells you when to wait for Bandai’s pending CPU adjustment.
Start with Episode Battles Neo Guide for mode structure, then route-specific walkthroughs on Cell Episode Battle and Krillin, Tien & Yamcha Episode Battles. For repeatable practice outside story branches, see Extra Battles & Custom Battle.
Why NEO Episode Battles feel unfair
NEO Episode Battles are not Journey fights with stamina travel — they are curated scenarios with rank checks that combine several pressure layers at once:
- AI aggression tuned for SP-aware players — opponents vanish, counter, and chain Blasts at frequencies that resemble mid-tier Journey elites without giving you Battle Arts or stat allocation.
- Forced roster slots — you cannot always bring comfort picks from Players Hub or NEO Roster Tier List.
- Stage hazards stacked on objectives — vertical Stratosphere ring-outs, ice on Bitter Tundra, and destructible Kami’s Palace collapse during time-limited branches.
- Strict rank categories — S-rank often demands minimal damage and combo efficiency and time limits simultaneously.
The July 29 free patch (Ver. 3020.019.003.012.013) added Sparking! Boost & Chain Blast and high-difficulty Extra Battles inside Custom Battle, but did not soften Episode Battle AI. Bandai confirmed on August 6, 2026 that a near-future patch will adjust CPU behaviour — track status on CPU Difficulty Update. Until that ships, the tactics below are what the community has proven.
The Sparking-Mode spike loop (core DPS tactic)
The most reliable Episode Battle damage loop community guides share:
- Charge Ki to maximum, then enter Sparking! Mode.
- Dragon Dash behind the opponent during their recovery or after a successful vanish read.
- Basic melee string — watch the combo counter.
- Around 17–19 hits, hold up + Ki blast button to spike the opponent into the ground (the “spike” cancel).
- Immediate Ultimate Blast before they recover.
- Repeat while Skill Stock allows; layer Sparking! Boost on boss armor breaks, not at neutral.
This loop works across routes but execution varies by character swing speed — lab your forced fighter in Extra Battles on flat Kame House before retrying rank goals. Input fundamentals live on Controls & Fundamentals.
Counter-vanish timing (defensive reads)
NEO Episode AI vanishes aggressively. Community-tested counter-vanish rules:
- Trigger on fist connect, not on the vanish animation start — the moment the opponent’s fist connects with your hurtbox is the timing window.
- First counter-vanish is easiest — AI often commits to a predictable follow-up after you punish once.
- AI usually gives up after two successful counter-vanishes in a row — use that breathing room to charge Ki safely.
- Vanish timing differs per character swing speed — Goku’s string timing will not match Krillin’s; practice per matchup.
Do not mash vanish on reaction to the flash — that loses to feints on Stratosphere where camera flips hide startup frames.
Per-route difficulty notes
Krillin — Frieza on Namek feels past max difficulty
Krillin’s route pits Earth’s weakest Z-Fighter against Frieza on Namek in scenarios that feel scaled past the highest difficulty setting. Community consensus: this is the route most players hit first and quit on.
Krillin-specific tools:
- Solar Flare — stun window for a charged Kamehameha or Spread Energy Wave.
- Afterimage Strike — negates melee for a short window; use to reset Ki charge when Frieza pressure spikes.
Bring defensive Ability Items and play for objective conditions, not style points. Full branch walkthrough: Krillin, Tien & Yamcha Episode Battles.
Yamcha — Cell Jrs with no healing
Yamcha’s what-if branches dump him against multiple Cell Jrs with no healing items between waves. Swarm segments punish greedy Ultimate usage — save Skill Stock for Sparking! spike loops on the last Jr.
Linked Blast (Sparking Boost guide) helps only when ally rules allow; many Yamcha missions force solo play.
Tien — vertical-stage heavy
Tien’s route leans on Stratosphere and altitude-heavy arenas. Ring-out losses fail rank categories silently — lock-on discipline from Controls guide is mandatory before S-rank attempts.
Cell — comparatively less cheap, strictest rank checks
Cell’s route is comparatively less cheap on raw AI aggression but carries the strictest rank checks of the quartet — time limits plus minimal-damage bonuses on perfection-path branches. Walkthrough: Cell Episode Battle.
| Route | Primary pain point | Recommended prep |
|---|---|---|
| Krillin | Frieza DPS check on Namek | Solar Flare → charged beam; defensive Items |
| Yamcha | Cell Jr swarms, no heal | Sparking spike loop; conserve Skill Stock |
| Tien | Vertical stages, ring-outs | Flat-stage lab first; lock-on drills |
| Cell | Strict S-rank categories | Clear Earthling trio first; Boost on phase two |
Rank-condition triage
When S-rank blocks progress, read the results breakdown and triage one category per replay:
- Time limit failing — Sparking! Boost on boss phase only; spike loop for burst.
- Damage taken — defensive Ability Items, perfect guard openings, no greedy vanish mashing.
- Combo count — spike cancel at 17–19 hits consistently; Chain Blast if allies present.
- Ring-out risk — avoid destructible supers near bounds on Stratosphere.
Chasing all four categories on first clear wastes hours. Learn patterns on Normal rank, then polish one bonus at a time.
Ability Item picks for Episode Battles
Ability Items (where missions allow them) should favor survival over style:
- Damage reduction or guard buffs — Krillin and Yamcha routes reward staying alive over combo flair.
- Ki economy helpers — spike loops demand max Ki; Items that shorten charge time pay off on timer missions.
- Recovery between waves — critical on Yamcha Cell Jr segments when the game offers no healing.
Journey shop Items like Final Battle Debuff (opponent SP −5) apply to Journey, not Episode Battles — do not confuse systems. Journey Item table lives on Battle Arts Sub-Skill Reroll.
When to wait for the CPU patch
If you have tried spike loops, counter-vanish drills, and Ability Item loadouts and still hit walls on Krillin–Frieza or Yamcha swarms:
- Pause rank chasing and farm Extra Battles for muscle memory.
- Watch CPU Difficulty Update — Bandai’s August 6 statement promises CPU behaviour adjustments in the near future.
- August 7 patch (Ver. 3021.020.003.012.014) fixed model display and added Journey sub-skill reroll — not Episode AI — see August 7 Patch Notes.
Episode difficulty is a community pain point, not a skill check you failed alone. Use Guides Hub for structured learning paths and Review Hub if you are deciding whether Episode content alone justifies the DLC purchase.
Related wiki pages
- Episode Battles Neo Guide — mode overview and clear order.
- Extra Battles & Custom Battle — repeatable labs and July 29 high-difficulty additions.
- Cell Episode Battle Walkthrough — Perfect Cell route.
- Krillin, Tien & Yamcha Episode Battles — Earthling trio routes.
- Sparking! Boost & Chain Blast — free-update mechanics for burst windows.
- July 29 Patch Notes — Boost, Chain Blast, Extra Battle additions.
- Survival Mode Update — another high-difficulty solo option.
- Mission 100 Update — structured challenge alternative.
Frequently Asked Questions
Quick answers to the most common questions.
Why do NEO Episode Battles feel harder than Journey?
Episode Battles combine aggressive AI, forced rosters, strict rank checks, and stage hazards without Journey Battle Arts or stat allocation. Krillin's Frieza fight especially feels scaled past max difficulty.
What is the Sparking-Mode spike loop?
Max Ki, enter Sparking Mode, Dragon Dash behind the opponent, melee string to 17–19 hits, hold up plus Ki blast to spike them down, then immediate Ultimate Blast. Repeat while Skill Stock allows.
When should I counter-vanish in Episode Battles?
Press counter-vanish when the opponent's fist connects with your hurtbox, not when they start vanishing. First counter is easiest; AI often stops after two successful punishes.
Which NEO Episode Battle route is hardest?
Krillin versus Frieza on Namek is the most cited wall. Yamcha's Cell Jr swarms with no healing and Tien's vertical stages are close seconds. Cell has the strictest rank checks but less cheap AI.
Will a patch fix Episode Battle CPU difficulty?
Bandai confirmed on August 6, 2026 that a near-future patch will adjust CPU behaviour. Track status on the CPU Difficulty update page; the August 7 patch did not change Episode AI.