Sparking Zero Neo Bardock (Super Saiyan)
S-tier NEO rushdown — high damage Sparking chains and cinematic finishers for aggressive players.
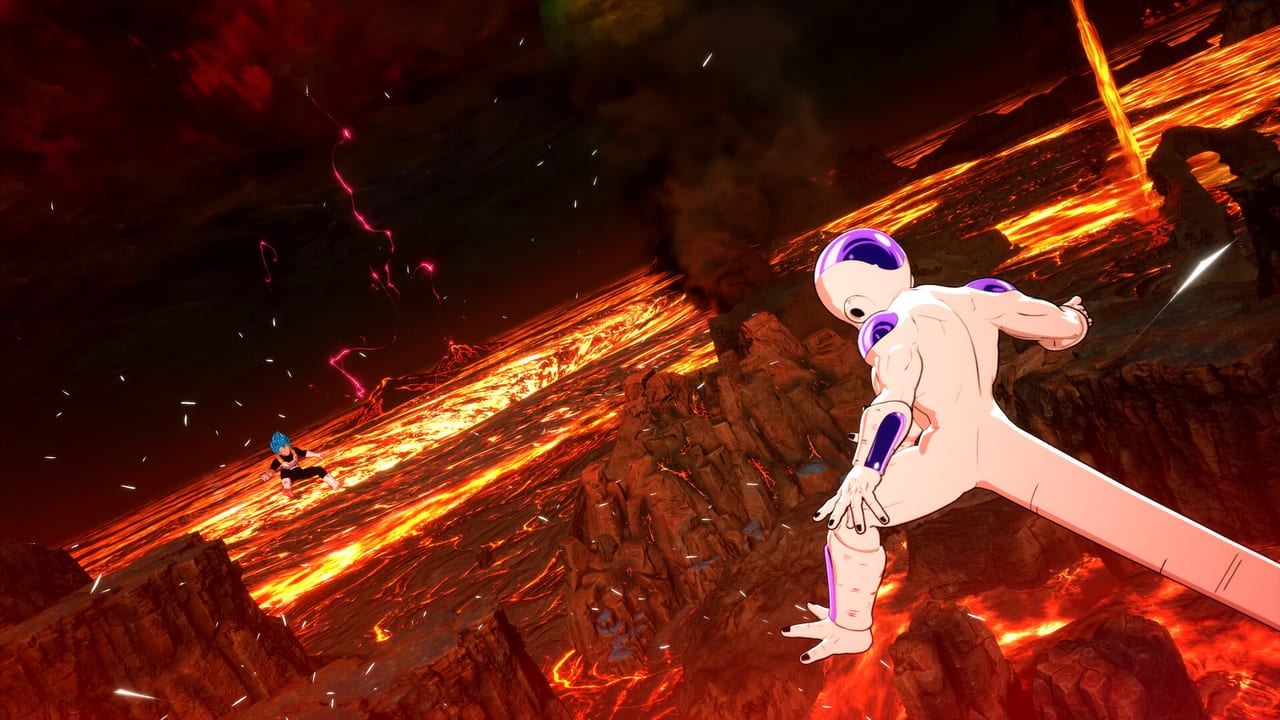
Bardock (Super Saiyan) joins the Super Limit-Breaking NEO roster as one of the most requested Z-era additions, launching July 30, 2026 on PlayStation 5, Xbox Series X|S, and Steam. Early meta ranks him S-tier on the NEO roster tier list for raw damage, straightforward confirms, and exceptional payoff from Sparking! Boost introduced in the free July 29 patch. If you want an aggressive main that rewards practice without absorption-style defensive reads, Bardock SS is the default recommendation alongside Super 17.
This profile breaks down neutral tools, Sparking routes, Battle Arts pairings, online ranked strategy, and Limit Breaker Journey stat priorities. Cross-read the Sparking Boost and Chain Blast guide before optimizing Boost combos.
Character overview
Bardock SS embodies Saiyan rushdown: fast grounded strings, wall carry, explosive Sparking Mode extensions, and Ultimate Blasts that look as devastating as they feel. Unlike base Bardock (who transforms via costumes in legacy slots), this entry ships fully Super Saiyan with unique interactions against Frieza-family characters and fellow Saiyan squad members Tora and Fasha.
His kit favors players who dominate neutral with movement and strike speed rather than zoning or counter baiting. Execution sits between casual-friendly and tournament-ready—most confirms require timing discipline but not frame-one links.
Key moves and neutral
Rush strings and wall loops
Bardock’s light and heavy chains stagger opponents into wall splats on smaller stages. Corner carry defines his win condition: push opponents to the edge, confirm into Sparking, optionally trigger Sparking! Boost, and finish with Ultimate Blast before they escape.
Online ranked players ban Bardock on compact maps for this reason. Learn one reliable mid-screen confirm that works under delay before grinding rank.
Ki blasts and approach
Bardock SS ki blasts support approach rather than zoning. Use them to cover dash-ins after whiff punishes, not as primary damage sources. Opponents who sit full screen invite your rush game—exactly where Bardock excels.
Ultimate Blast finishers
NEO Bardock ships cinematic Ultimate Blasts with strong priority during Sparking chains. Save Ultimate for kill confirms or Boost windows; wasting Ultimate on blocked attempts leaves you vulnerable during Boost stat reduction.
Sparking Mode and Boost routes
Bardock is among the best Sparking! Boost users in NEO because his Sparking chains already deal high damage before Boost multipliers. Standard route:
- Wall carry confirm into Sparking activation.
- Extend with Sparking rush sequence.
- Activate Boost when opponent health enters kill range.
- Close with Ultimate Blast before debuff ends.
The post-Boost stat penalty matters less when the round ends. If Boost fails to kill, back off immediately—do not trade during debuff frames.
Chain Blast synergy is secondary for Bardock mains who run solo point fighters, but pairing with Pikkon or Salza from online meta adds tag damage when launches angle upward instead of toward walls.
Battle Arts and builds
Browse builds for offensive loadouts:
| Priority | Stat / art focus |
|---|---|
| Damage | Attack, Sparking damage arts |
| Boost cycling | Skill Stock recovery, debuff reduction |
| Safety | Minor health boost for trade survivability |
Avoid heavy defensive arts unless you struggle with rush execution—Bardock wins by ending rounds quickly, not outlasting zoners.
Matchups
Favorable: slow zoners, characters without reliable wake-up reversals, CPU in Journey mode.
Unfavorable: Super 17 absorption walls, Demon King Piccolo space control on wide maps, armor-heavy rush characters who trade through your strings.
Study absorption and zoning matchups in training before ranked sessions. Bardock’s damage advantage disappears if you ki spam into Super 17.
Limit Breaker Journey
Bardock SS sits S-tier on Journey picks for speed clears rather than sustain. Invest attack and speed early; add ki once Sparking routes stabilize. Journey CPU blocks less intelligently than ranked humans—your wall loops clear milestones faster than defensive mains.
Squad mates Tora and Fasha offer B-tier Journey variety if you want Bardock-themed replay value without identical kits.
Squad and story connections
NEO includes Tora and Fasha as separate fighters. Bardock SS interactions trigger unique dialogue in Episode Battles. The three together make thematic teams for local versus even when not optimal for Chain Blast ranked teams.
Comparison table
| Aspect | Bardock SS | Super 17 | GT Vegeta SS |
|---|---|---|---|
| Damage ceiling | Highest | High | High |
| Defense | Low | Highest | Medium |
| Execution | Medium | Medium | Medium-High |
| Boost synergy | Excellent | Good | Excellent |
Choose Bardock when you want to end rounds fast and accept lower defensive tools.
Patch awareness
The July 29 update adjusted Vegeta-family ki blast costs globally—Bardock SS was not directly named, but Saiyan-adjacent tuning may follow if ranked win rates spike. Monitor Updates and re-test wall loops after balance notes.
Frequently Asked Questions
Quick answers to the most common questions.
Is Bardock SS different from base Bardock?
Yes in NEO. This is a separate Super Saiyan roster slot with its own move set tuning, not just a costume swap on the legacy Bardock entry.
What is the best stage for Bardock?
Walled interiors with short corner distances maximize wall-loop value. Avoid wide exteriors against zoners.
Should I always use Sparking Boost?
No. Boost only on kill confirms or when the round trade justifies temporary stat loss.
Is Bardock better than Vegeta GT Super Saiyan?
Both are S-tier with different strengths. Bardock favors grounded rush; GT Vegeta SS favors aerials. Pick based on movement preference.